Intro
This started as an re-run of my Face Tracking project, but with updated software. New software list:- OpenCV v3.1
- Gstreamer v1.8
- V4l2loopback v0.8
- On Ubuntu 16.04 - x64
But then I had this problem:
(Sorry, the video the turned sideways. But from the 3 frames, One is falling behind. Very clearly...)
Things to try
Here is list of methods I used to read the IPcam stream in OpenCVGstreamer to Loopback
cv2.VideoCapture("v4l2src device='/dev/video1' ! videoconvert ! appsink sync=false max-buffers=2 drop=true name=sink emit-signals=true")Gstreamer in OpenCV
cv2.VideoCapture("souphttpsrc location=http://192.168.50.107/videostream.cgi?user=admin&pwd=12345 do-timestamp=true is_live=true ! queue ! appsink")Http directly in OpenCV
cv2.VideoCapture("http://192.168.50.107/videostream.asf?user=admin&pwd=12345&resolution=64&rate=0")Then getting frustrated, this was another idea. As the default web interface had no delay, I tried to capture this browser frame and sending that to loopback with Gstreamer:
ximagesrc use-damage=false xid=0x3a00689 ! ffmpegcolorspace ! videoscale ! v4l2sink device='dev/video1'But this also resulted in IOctrl failure...
+
cv2.VideoCapture(1)
Here are some v4l2loopback issue that seemed related: #97 - #93 - #83
This is the script I used for testing, this I compared to the IPcam interface.
 |
| Code Snip |
Solution
So Finally I concluded that the (cheap) IPcam would not work. But I did wanted to keep the pan/tilt freedom. I could rip everything out, replace the camera and the board with an Arduino like this. |
| Back |
 |
| Front |
 |
| Main Board |
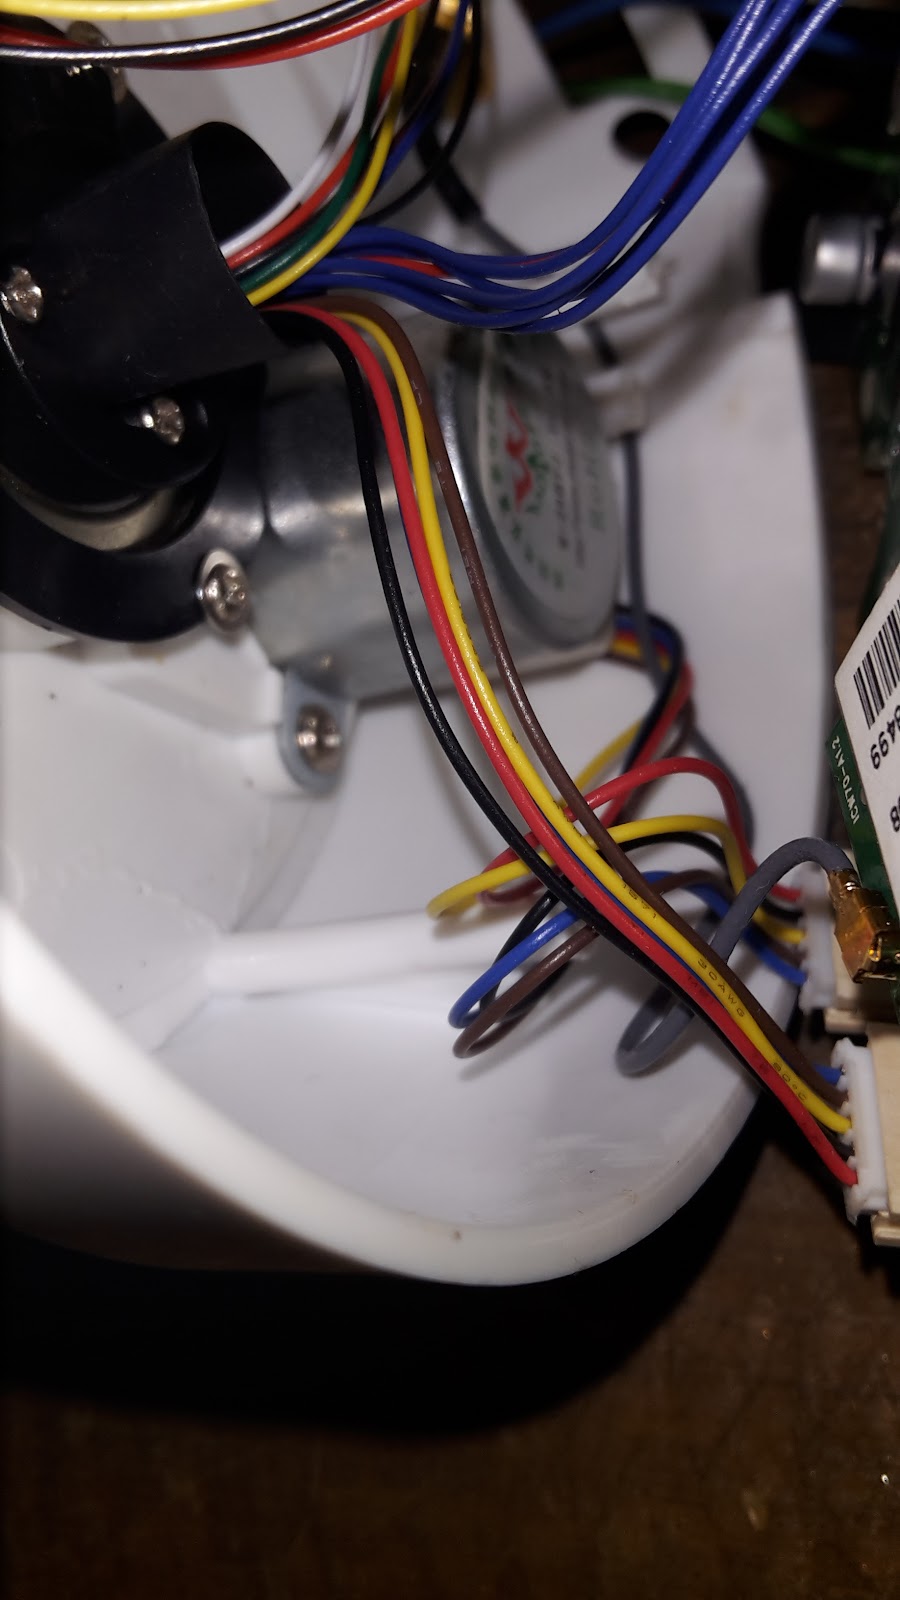 |
| Motor Wiring |
 |
| The Head Taken Apart |
 |
| Replaced the Camera |
The PlayStation 3 Eye also has an microphone array, giving a nice extra.


If you want to do the same, I can not stress enough to pay a lot of attention to the order of how the camera is put to gether!! As some part are to small to fit the USB port I was forced to cut the PS-Eye wire....But forgot the ring that holds the base and head together, so I had to take it all apart again!